 Save
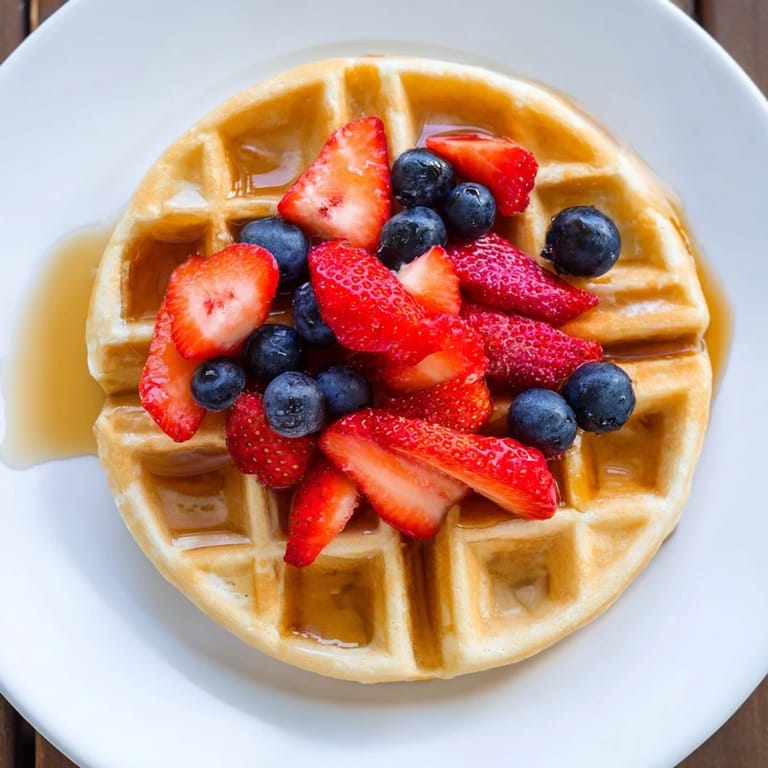
Save Sunday mornings at my place have a rhythm to them, and it always starts the same way: the smell of butter hitting a hot waffle iron. I inherited my grandmother's ancient machine years ago, the kind with the slightly uneven grid that somehow makes the best waffles, and every time I use it, I'm transported to her kitchen. These waffles aren't fancy or complicated, but there's something about how the outside crisps up while the inside stays tender that makes people linger over breakfast instead of rushing out the door.
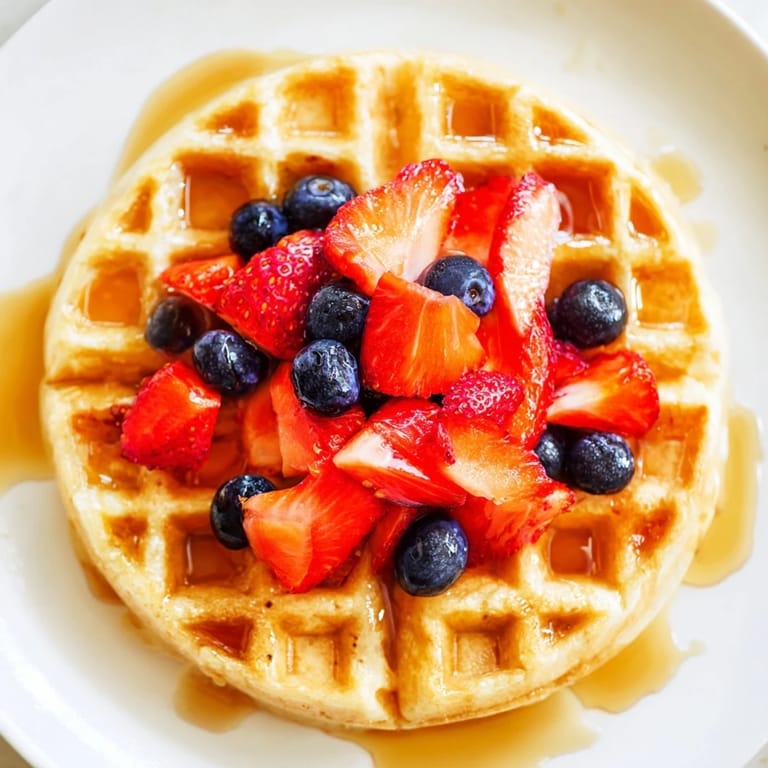
I made these for my friend Sam last summer when she showed up unannounced on a Saturday with a carton of fresh strawberries from the farmer's market. We stood in the kitchen laughing while I fumbled to find my waffle iron in the back of a cabinet, and by the time the first batch was ready, the whole apartment smelled so good that our other neighbors actually knocked on the door asking what we were making. That's when I knew this recipe was keeper material.
Ingredients
- All-purpose flour (2 cups): This is your structure, and measuring it by weight or spooning it loosely into a cup makes a real difference in how tender your waffles turn out.
- Granulated sugar (2 tbsp): Just enough to give the batter a subtle sweetness and help with browning; don't skip it even if you're planning to drown everything in syrup.
- Baking powder (1 tbsp): The secret to that tender inside, so make sure yours isn't ancient or your waffles will be dense.
- Salt (½ tsp): Seems small, but it amplifies every other flavor and keeps things from tasting flat.
- Large eggs (2): Room temperature if you can manage it, which helps them blend smoothly into the batter.
- Whole milk (1¾ cups): This ratio gives you the right consistency; too much and your waffles spread thin and crispy, too little and they're gummy.
- Unsalted butter, melted and cooled (½ cup): The cooled part matters—hot butter will start cooking your eggs, so give it a minute or two to chill.
- Pure vanilla extract (1 tsp): Worth buying the real stuff; it makes a difference you can actually taste.
Tired of Takeout? 🥡
Get 10 meals you can make faster than delivery arrives. Seriously.
One email. No spam. Unsubscribe anytime.
Instructions
- Get your iron ready:
- Preheat your waffle iron according to the manufacturer's instructions, usually about 5 minutes. You'll know it's ready when the indicator light stops blinking or turns green.
- Combine the dry teammates:
- In a large bowl, whisk together flour, sugar, baking powder, and salt until there are no clumps hiding in the corners. This takes about 30 seconds and distributes the leavening evenly.
- Blend the wet crew:
- In another bowl, whisk eggs, milk, cooled melted butter, and vanilla until smooth and well combined. You want no streaks of egg white floating around.
- Bring them together gently:
- Pour the wet mixture into the dry ingredients and stir with just a few strokes—think of it like a soft hug, not a vigorous mixing. A few lumps are your friends; overmixing creates tough, rubbery waffles.
- Ready the iron:
- Give your preheated waffle iron a light brush of butter or a quick spray of non-stick spray, even if it's non-stick, because prevention is worth the three seconds.
- Fill and close:
- Pour batter onto the center of the grid until it just covers the surface, then close the lid gently. The batter will spread slightly as it cooks.
- Watch for the golden moment:
- Most waffles take 3 to 5 minutes, but your specific iron might be faster or slower, so listen for the steam to slow down and peek when you're curious. They're ready when the outside is deep golden and no longer steaming profusely.
- Keep the momentum:
- As each waffle finishes, transfer it to a wire rack instead of stacking, so the steam escapes and crispiness stays intact. Repeat with remaining batter.
- The finish line:
- Serve warm with whatever toppings call to you: fresh fruit, warm syrup, whipped cream, melted chocolate, or just butter and powdered sugar.
 Save
Save There was a morning when my niece, who was maybe six at the time, watched me make these waffles and suddenly declared that this was her favorite meal in the entire world. She wasn't being polite; she meant it with the kind of absolute certainty only kids have. Now every time she visits, the first thing she asks is whether we're making waffles, and I realized that food isn't just about feeding people—it's about creating these little moments that stick with them.
The Crispy-Outside Secret
The difference between a mediocre waffle and a genuinely crispy one comes down to two things: letting cooked waffles cool on a rack instead of stacking them immediately, and not closing your waffle iron lid too hard, which steams the top instead of letting it stay crisp. I learned this through trial and error, mostly error, but now I'm militant about it because the texture really is the whole point.
Flavor Variations Worth Trying
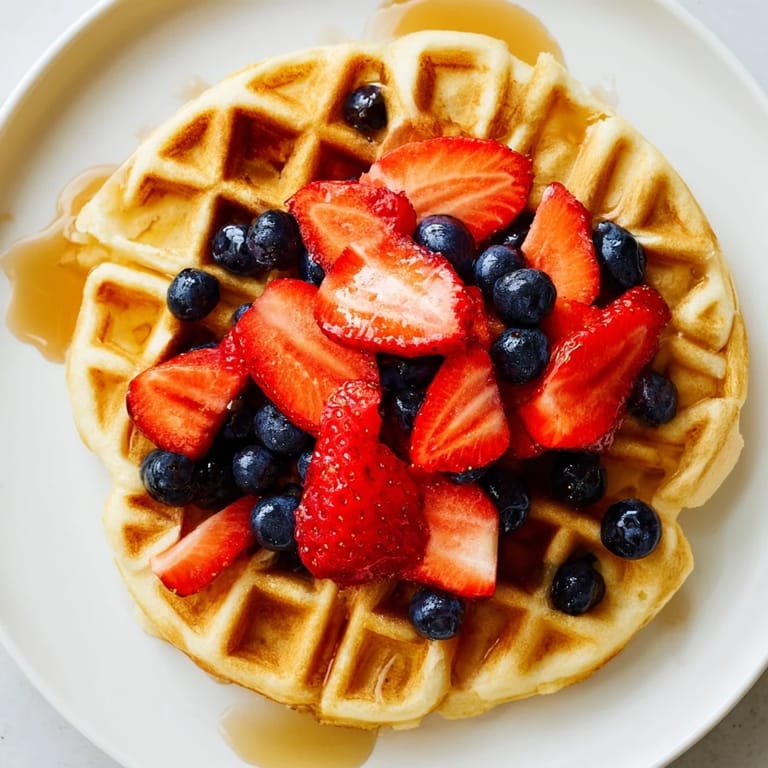
The beauty of this base recipe is how many directions you can take it depending on your mood or what's in your pantry. A pinch of cinnamon or nutmeg transforms them into something almost dessert-like, while swapping buttermilk for the whole milk gives you a subtle tang that pairs beautifully with berries. I've even added a teaspoon of almond extract once, and the subtle shift in flavor had people asking what was different about them.
Making Ahead and Storage
These waffles freeze beautifully, which means you can make a double batch on Sunday and have breakfast sorted for half the week. Cool them completely, stack them with parchment between layers to prevent sticking, and they'll keep for up to two months. Pop them straight into the toaster to reheat, and they come back crispy on the outside and warm all the way through, almost like you just made them fresh.
- Let cooked waffles cool on a wire rack for the crispiest texture instead of stacking them right away.
- Store leftovers in an airtight container in the fridge for up to three days before freezing for longer storage.
- Reheat frozen waffles in a toaster or toaster oven rather than the microwave to preserve their crispiness.
 Save
Save These waffles have become my go-to for those mornings when I want to feel like I'm doing something special without the stress. They're simple enough that you can make them half-asleep, but the results feel like you actually tried, which is maybe the best kind of recipe to have on rotation.
Recipe Questions & Answers
- → How do I achieve crispy waffles?
For extra crispiness, cook waffles until golden and let them rest briefly on a wire rack instead of stacking right away.
- → Can I add flavors to the waffle batter?
Yes, a pinch of cinnamon or nutmeg can be added to the batter for extra warmth and depth of flavor.
- → Is it possible to substitute ingredients?
Buttermilk can replace regular milk for a tangier taste and a softer interior texture.
- → How do I prevent waffles from sticking to the iron?
Lightly grease the waffle iron with butter or non-stick spray before pouring the batter.
- → What is the best way to store cooked waffles?
Allow cooled waffles to freeze well for up to 2 months. Reheat in a toaster for best texture.