 Save
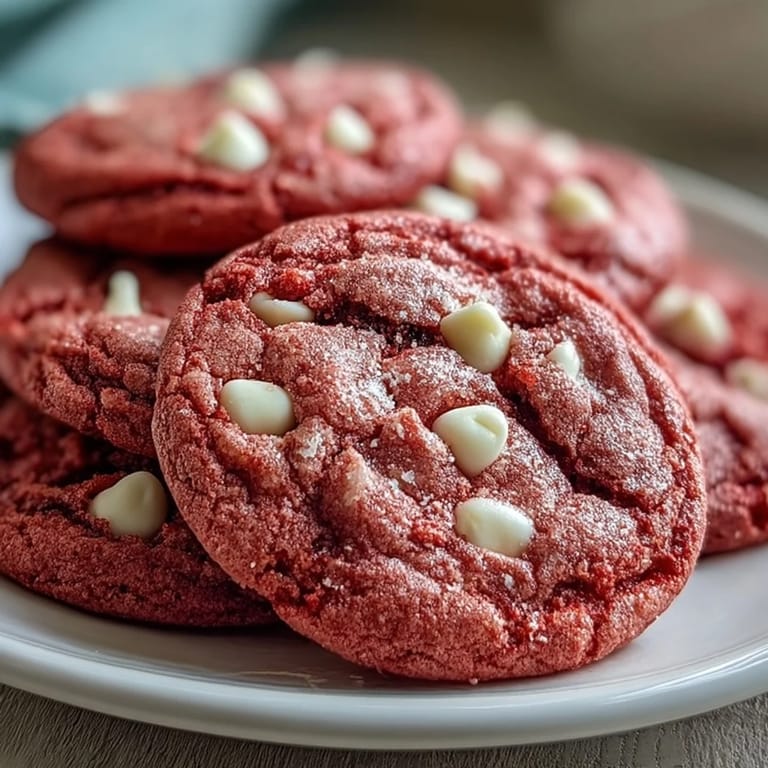
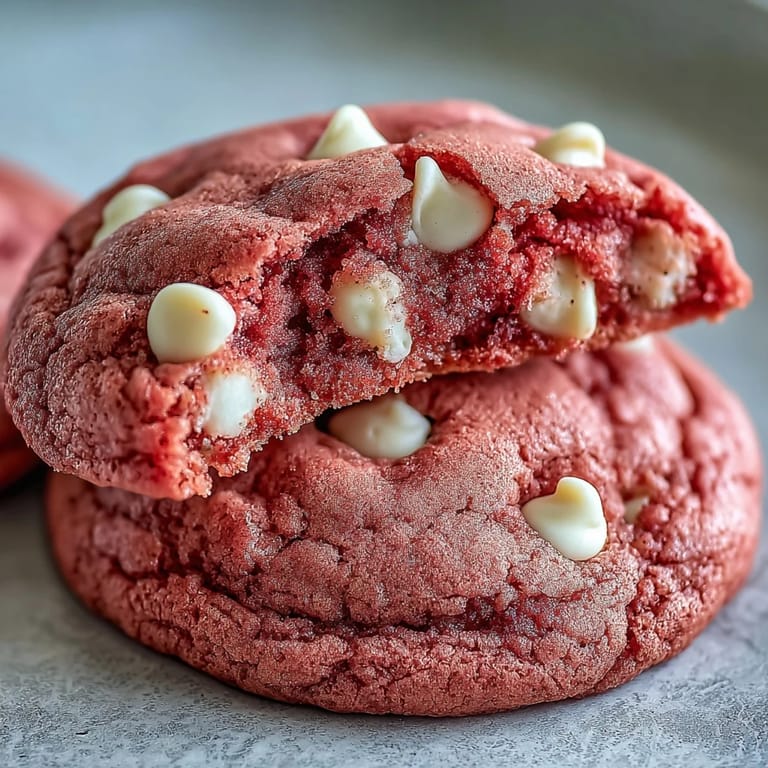
Save There's something about pink that makes people smile before they even taste what you've made. I discovered these cookies by accident one afternoon when I had leftover pink gel food coloring sitting on the counter and a craving for something soft and chewy. The way the color bloomed through the butter and sugar felt like watching a sunset happen in my mixing bowl, and I knew right then I'd stumbled onto something special.
My neighbor knocked on the door mid-bake because the smell had drifted into her kitchen. She stood in my doorway watching these little pink rounds come out golden and soft, and by the time they cooled enough to bite, she'd already fallen in love. That's when I realized these cookies aren't just dessert—they're an invitation to slow down and enjoy something unapologetically sweet.
Ingredients
- All-purpose flour (2 ½ cups): This is your structure—measure it carefully and don't pack it down in the cup, or you'll end up with dense, tough cookies instead of the tender crumb these deserve.
- Baking powder and baking soda (1 teaspoon and ½ teaspoon): These work together to give your cookies that signature soft, slightly puffy texture that makes them feel special.
- Salt (½ teaspoon): A tiny bit of salt actually makes the pink flavor pop and keeps the sweetness from feeling one-dimensional.
- Unsalted butter (1 cup, softened): Room temperature is non-negotiable here—cold butter won't cream properly, and you'll miss out on that light, fluffy base.
- Granulated sugar (1 ½ cups): This sweetens and aerates the dough, so creaming it with the butter for the full 2-3 minutes really does matter.
- Large egg: It binds everything while adding moisture—use it straight from the counter for best results.
- Vanilla extract (2 teaspoons): Quality vanilla makes a subtle but noticeable difference in how rounded and warm these taste.
- Pink gel food coloring (2 teaspoons, adjusted to taste): Gel coloring is stronger than liquid, so start with less and add more if you want a deeper hue—I learned this the hard way with an over-bright batch.
- White chocolate chips (1 cup): They soften slightly as the cookies bake, creating little pockets of creamy sweetness that feel almost luxurious.
Tired of Takeout? 🥡
Get 10 meals you can make faster than delivery arrives. Seriously.
One email. No spam. Unsubscribe anytime.
Instructions
- Whisk Your Dry Ingredients:
- In a medium bowl, combine flour, baking powder, baking soda, and salt, stirring until everything is evenly distributed. This prevents lumps from hiding in your dough later.
- Cream Butter and Sugar:
- Using an electric mixer on medium speed, beat softened butter and sugar for 2-3 minutes until the mixture is pale, fluffy, and noticeably lighter in texture. This incorporates air and creates the tender crumb you're after.
- Add Egg and Flavorings:
- Beat in the egg and vanilla extract until completely combined, then add your pink gel food coloring and mix until the color is even throughout. Stop and scrape down the bowl to catch any colorless streaks hiding at the bottom.
- Combine Wet and Dry:
- Add the dry ingredients to the wet mixture in two additions, mixing on low speed just until combined—overmixing develops gluten and toughens your cookies. The dough should look shaggy and soft.
- Fold in White Chocolate:
- Use a rubber spatula to gently fold in the white chocolate chips, being careful not to overwork the dough. You'll see these sweet pockets distributed throughout when you scoop.
- Chill the Dough:
- Cover the bowl with plastic wrap and refrigerate for 30 minutes—this rests the gluten and helps your cookies hold their shape instead of spreading too thin. I usually use this time to clean up and brew a cup of tea.
- Preheat and Prepare:
- While dough chills, heat your oven to 350°F (175°C) and line two baking sheets with parchment paper. This prevents sticking and ensures even browning on the bottoms.
- Scoop and Space:
- Using a cookie scoop or tablespoon, place balls of dough 2 inches apart on your prepared sheets. This gives each cookie room to spread without touching its neighbors.
- Bake with Intention:
- Bake for 10-12 minutes until the edges are set but the centers look slightly soft and underbaked—this is exactly what you want. The cookies will continue cooking on the sheet as they cool.
- Cool Properly:
- Let cookies rest on the baking sheet for 5 minutes so they firm up just enough to transfer, then move them to a wire rack to cool completely. This two-stage cooling ensures a perfect soft-chewy texture.
 Save
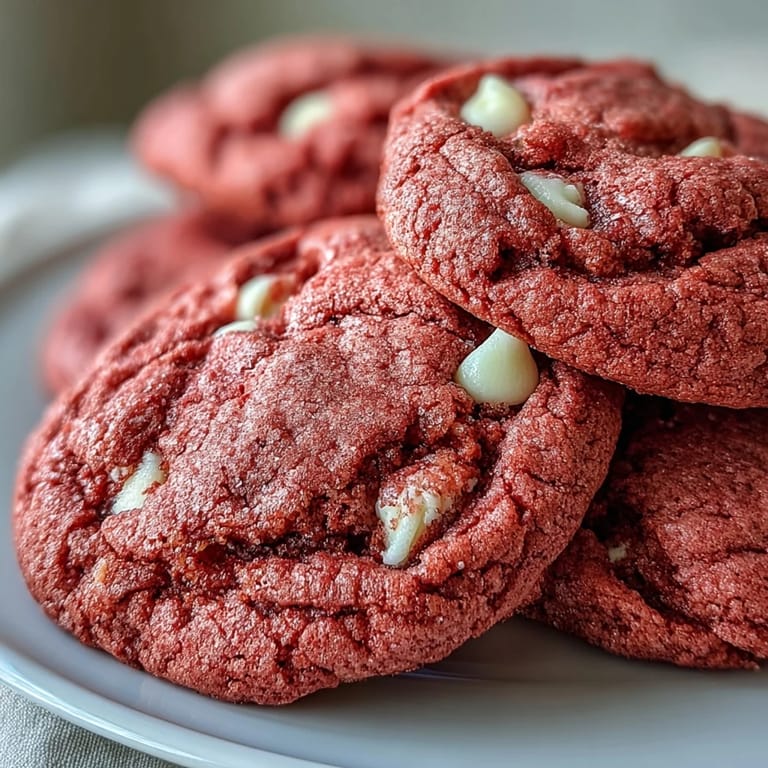
Save I made a batch for my daughter's classroom party, and the teacher texted me later saying the kids had argued over who got the last cookie. That small moment made me realize pink velvet cookies are more than a recipe—they're a way to create a little joy in someone's day, one soft, chewy bite at a time.
Flavor Variations Worth Trying
Once you've mastered the basic pink velvet, the door opens to endless gentle variations. A half teaspoon of almond extract brings a sophisticated whisper to the flavor, while a few drops of rose water create something almost floral and dreamy. I've also experimented with adding a quarter teaspoon of cream cheese powder to deepen the sweetness, which creates a flavor that feels both familiar and unexpected.
Cookie Sandwich Magic
The first time I sandwiched these with cream cheese frosting, I understood why people get excited about assembled desserts. The soft pink cookies frame the tangy sweetness perfectly, and the texture contrast—soft cookie, creamy filling—turns a simple treat into something memorable. These make stunning party favors or gifts because they feel more thoughtful than a single cookie ever could.
Storage and Keeping Your Cookies Fresh
These cookies stay soft and delicious for about a week in an airtight container at room temperature, which is longer than you'd think for something this tender. I usually store them in a box with parchment between layers to prevent sticking, and I keep them away from the stove because heat softens them further. One final discovery: if you wrap individually and freeze them, they thaw beautifully within an hour and taste nearly as good as fresh-baked.
- An airtight container is truly essential—exposure to air hardens these quickly.
- Never refrigerate them, as the cold actually makes them stale faster.
- These freeze beautifully for up to three months if you want to bake ahead for parties.
 Save
Save These pink velvet cookies taught me that sometimes the simplest recipes hold the most joy. Bake a batch and watch how quickly they disappear and how freely people smile when they bite into something this soft and lovely.
Recipe Questions & Answers
- → Why chill the dough before baking?
Chilling for 30 minutes prevents the cookies from spreading too much in the oven, ensuring they hold their shape and maintain a thick, soft texture.
- → Can I use liquid food coloring instead of gel?
Liquid coloring works but may alter the dough consistency. Use gel coloring for best results without affecting the texture.
- → How do I know when the cookies are done?
The edges should be set while centers remain slightly soft. They will continue firming up during the 5-minute cooling period on the baking sheet.
- → Can I freeze the dough?
Yes, scoop the dough into balls and freeze on a baking sheet before transferring to an airtight container. Bake from frozen, adding 1-2 minutes to the baking time.
- → What makes these cookies velvet-style?
The combination of creamed butter and sugar, plus the addition of food coloring and white chocolate, creates the signature velvet texture and appearance.
- → How should I store these cookies?
Keep in an airtight container at room temperature for up to one week. Place parchment paper between layers to prevent sticking.