 Save
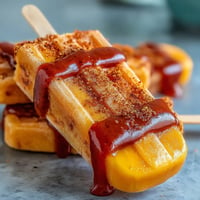
Save My sister texted me a photo of candy apples at some fancy event, and I stared at it for way too long thinking, "I could make those smaller." That afternoon, I had apples sitting on the counter, a candy thermometer gathering dust in a drawer, and suddenly these little jeweled bites came together so quickly I almost couldn't believe it. They became the thing I bring to every gathering now, the ones people actually fight over.
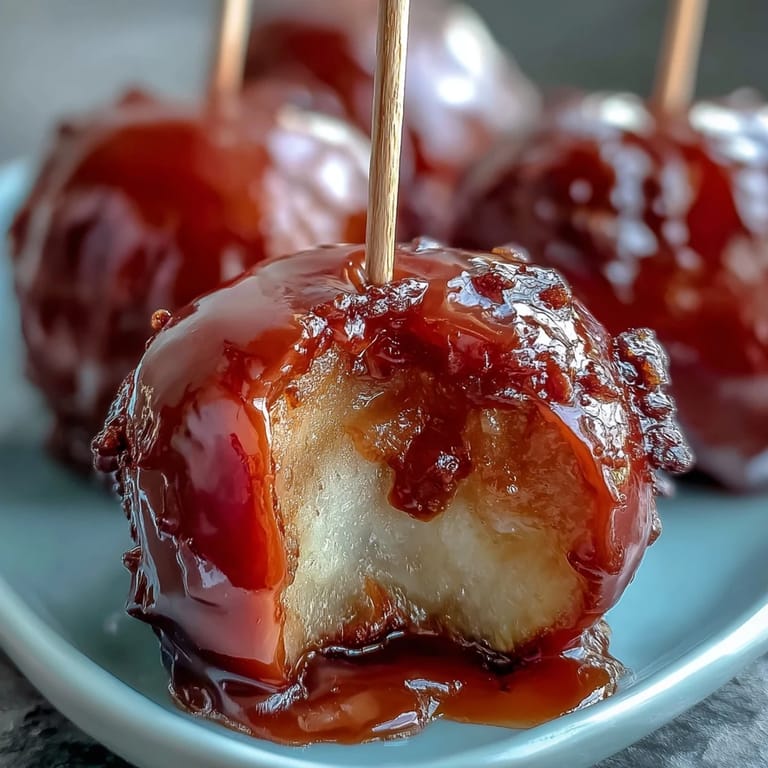
I made these for my nephew's birthday party last fall, and watching three-year-olds carefully hold a toothpick like they'd been given the most precious thing in the world changed something in me. Suddenly these weren't just candy apples—they were little moments of joy I could hand someone. The red coating caught the afternoon light streaming through the kitchen window, and it felt like I'd somehow bottled something special.
Ingredients
- 2 large crisp apples (Granny Smith or Fuji): Use apples that are firm and tart so they balance the sweetness of the candy coating, and pick ones with smooth skin since that helps the candy adhere beautifully.
- 1 cup granulated sugar: This is your foundation for that hard candy shell, so don't substitute or reduce it.
- 1/3 cup light corn syrup: This keeps the candy from crystallizing and gives it that glossy, glass-like finish.
- 1/4 cup water: Just enough liquid to get everything dissolved and moving toward that hard-crack stage.
- 1/4 teaspoon red food coloring: Adds that jewel-tone shimmer, though you can absolutely swap this for green, gold, or even skip it for a classic clear look.
- Nonstick cooking spray: Protects your parchment and makes cleanup infinitely easier.
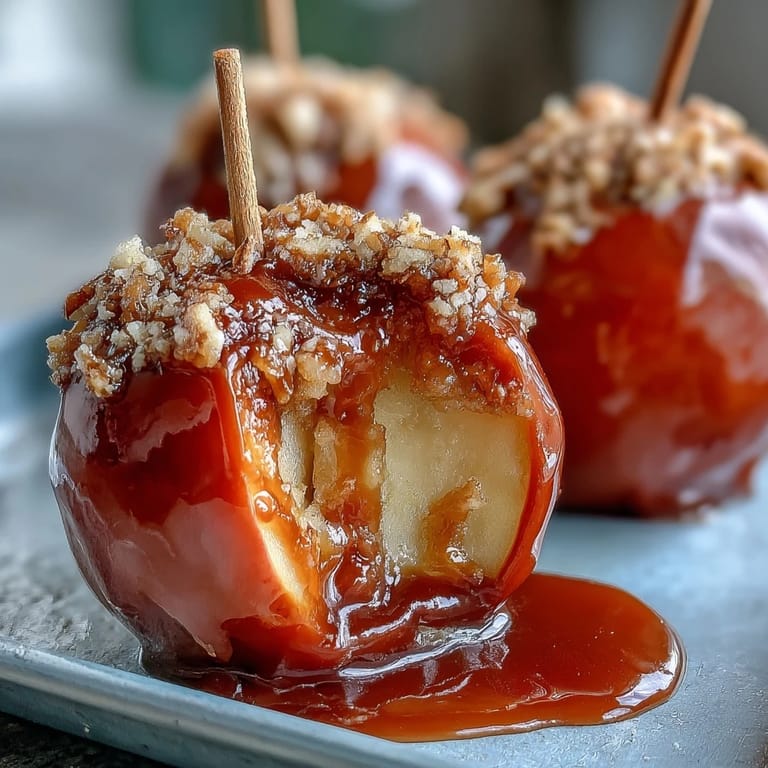
- Optional toppings (nuts, chocolate chips, sprinkles): These go on while the candy is still tacky, creating little texture surprises in every bite.
Tired of Takeout? 🥡
Get 10 meals you can make faster than delivery arrives. Seriously.
One email. No spam. Unsubscribe anytime.
Instructions
- Set up your station:
- Spray a sheet of parchment paper with nonstick spray and set it somewhere nearby—you're about to move fast once that candy hits temperature. Having everything ready now means you won't be fumbling when the coating is at its hottest.
- Prep the apples with precision:
- Cut your apples into roughly 1-inch chunks, coring them as you go so there's a little pocket for the toothpick to nestle into. Pat each piece dry with paper towels like your life depends on it—moisture is the enemy of candy adhesion, and you want that coating to grab and stay.
- Skewer your pieces:
- Push a toothpick into the center of each apple chunk and line them up on a plate. This step takes two minutes but saves you from burned fingers later.
- Combine and heat your candy base:
- In a saucepan, stir together the sugar, corn syrup, and water until it looks like wet sand, then set it over medium-high heat. Once it starts to boil, resist the urge to stir—just let it bubble away undisturbed while the thermometer climbs toward 300°F, which takes about 7 to 8 minutes.
- Watch for the hard-crack stage:
- That moment when your thermometer hits 300°F feels miraculous—the mixture turns from pale gold to something that looks like liquid amber. Pull it off the heat immediately and stir in your food coloring until it's evenly tinted.
- Dip with confidence and speed:
- Working quickly (because this candy hardens faster than you'd expect), grasp each apple chunk by its toothpick and dip it into the hot coating, giving it a gentle swirl so it's completely covered. Let the excess drip back into the pan for a second, then set it on your prepared parchment.
- Garnish before the candy sets:
- If you're using nuts, chocolate chips, or sprinkles, sprinkle them on within a few seconds of placing the apple on the parchment—any longer and the coating will have hardened too much. The heat of the candy will make them stick beautifully.
- Let them harden completely:
- This takes about 10 minutes at room temperature, and patience here matters because a warm candy coating feels soft but will snap and crack once it's fully set. Resist breaking one open to test it until at least 10 minutes have passed.
 Save
Save There's this magical moment when you bite through that hard candy shell and hit the crisp tartness of the apple beneath, and suddenly you understand why these things are so irresistible. I've seen people go back for a second one, then a third, nodding in agreement that yes, this was worth the effort.
Temperature Matters More Than You'd Think
The first time I made these without a candy thermometer, I eyeballed it and ended up with a sticky mess that never quite hardened. Now I understand that 300°F is the magic number—below that and you get soft taffy-like coating, above it and the candy turns brittle and tastes bitter. Invest in a decent candy thermometer; it's the difference between a successful batch and a learning experience.
Why Apple Variety Changes Everything
Granny Smith apples give you that bright tartness that cuts through the sweetness, while Fuji apples are sweeter and almost floral. I've tried honeycrisps too and they're lovely, though slightly softer—the key is picking something firm enough to hold up to the hot candy without turning mushy. Mix varieties if you want; the flavor contrast makes each bite interesting.
Storage and Serving Strategy
These keep beautifully in an airtight container for up to three days, though I've never had them last that long. Store them at room temperature, not the fridge, because moisture will make the candy coating weep and lose its gorgeous shine. If you're making them for a party, arrange them on a platter just before guests arrive so they look freshly made and glossy.
- Keep them away from humid kitchen areas while they're cooling, or they'll stay tacky longer than expected.
- If you're transporting them, layer parchment between the pieces so they don't stick together.
- These freeze beautifully for up to two weeks if you want to make them ahead and save yourself the day-of stress.
 Save
Save These little bites have a way of turning an ordinary moment into something memorable, whether you're eating them alone or sharing them with people you love. Make them once and you'll find yourself reaching for them again.
Recipe Questions & Answers
- → What type of apples work best for candy coating?
Crisp, firm apples like Granny Smith or Fuji are ideal as they hold their shape well and provide a tart contrast to the sweet coating.
- → How do I know when the candy coating is ready?
Bring the sugar mixture to a hard crack stage (300°F) using a candy thermometer, ensuring a hard, glossy finish after cooling.
- → Can I customize the toppings on the apple bites?
Yes, adding chopped nuts, mini chocolate chips, or sprinkles immediately after dipping adds extra flavor and texture.
- → How can I prevent the candy coating from melting or sticking?
Make sure apple chunks are thoroughly dried before dipping, and allow coated bites to cool fully at room temperature on parchment paper.
- → Is there a way to make these bites colorful?
Swap out red food coloring with green or other shades to create a festive variation of the candy coating.