 Save
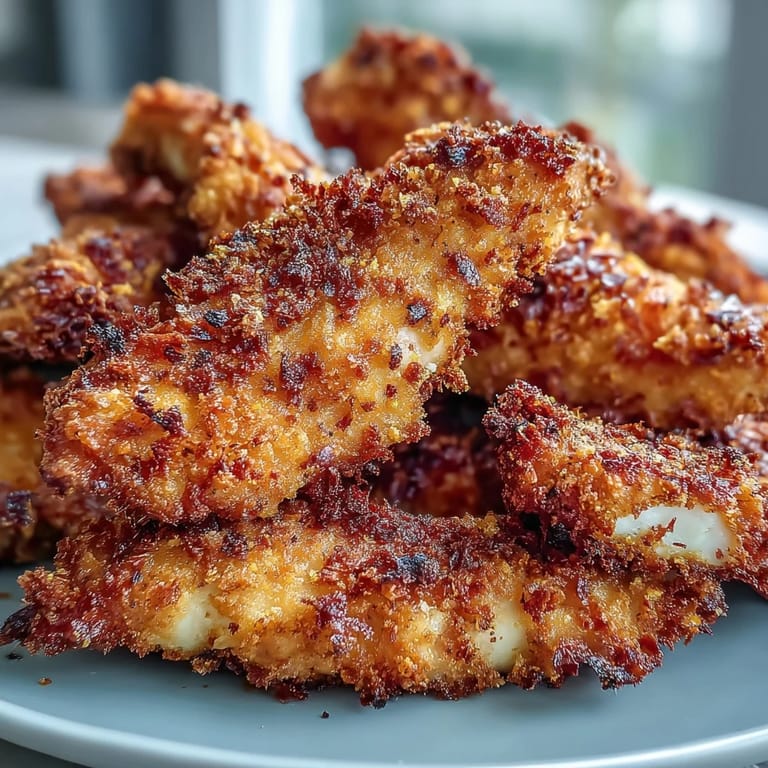
Save My daughter refused plain chicken for weeks until I tossed some turmeric into the marinade one Tuesday night, mostly because I'd run out of paprika. The kitchen glowed golden under the overhead light, and when those tenders came out of the oven, she grabbed one before I could even plate them. Now she asks for the yellow chicken at least twice a month, and I've stopped arguing.
I made a double batch for a backyard gathering last spring, and they disappeared faster than the store-bought wings. One friend kept coming back, asking what I'd done differently, convinced there was some secret technique. It was just turmeric, patience, and a wire rack that let the heat circulate. Sometimes the simplest tweaks make people think you've been hiding talents.
Ingredients
- Boneless, skinless chicken tenders or chicken breast, cut into strips (600 g): Tenders cook faster and stay juicier, but sliced breast works just as well if you pound them to even thickness first.
- Plain yogurt (2 tablespoons): This tenderizes the chicken and helps the spices cling without making the marinade too wet, though coconut yogurt works if you need it dairy-free.
- Olive oil (1 tablespoon): A little fat in the marinade keeps the meat moist and helps the turmeric distribute evenly across every piece.
- Ground turmeric (2 teaspoons for marinade, 1 teaspoon for breading): The star here, it stains everything golden and adds a subtle warmth that pairs beautifully with garlic and cumin.
- Ground cumin (1 teaspoon): Brings a smoky, earthy backbone that keeps the turmeric from tasting flat or one-note.
- Garlic powder (1 teaspoon): I prefer powder here because fresh garlic can burn in the breading, and powder blends smoothly into the yogurt.
- Smoked paprika (1 teaspoon): Adds a hint of campfire without any actual heat, though you can use regular paprika if that's what you have.
- Black pepper (½ teaspoon for marinade, ½ teaspoon for breading): Freshly cracked makes a difference, but pre-ground works in a pinch when you're rushing.
- Salt (¾ teaspoon for marinade, ½ teaspoon for breading): Don't skimp, the chicken needs it in both stages to taste fully seasoned and not bland in the center.
- Panko breadcrumbs (120 g): Their jagged edges crisp up better than regular crumbs, and they stay crunchy longer after baking.
- All-purpose flour (60 g): Helps the breading stick and creates a thin barrier that locks in moisture during cooking.
- Olive oil spray or neutral oil (3 tablespoons): A light mist before baking mimics frying, or use a couple tablespoons in a skillet if you prefer the stovetop route.
Tired of Takeout? 🥡
Get 10 meals you can make faster than delivery arrives. Seriously.
One email. No spam. Unsubscribe anytime.
Instructions
- Marinate the chicken:
- Whisk together yogurt, olive oil, turmeric, cumin, garlic powder, paprika, black pepper, and salt in a bowl until smooth and golden. Toss the chicken strips in the marinade, making sure every piece is coated, then let them sit for at least 15 minutes or up to 2 hours in the fridge if you have time.
- Preheat your oven or skillet:
- Set the oven to 220°C (425°F) if baking, or warm a large skillet over medium-high heat with a few tablespoons of oil if you're frying. Either method works, but baking is less messy and frees up your hands.
- Prepare the breading:
- Combine panko, flour, turmeric, salt, and pepper in a shallow dish, stirring until the color is even. The second dose of turmeric in the breading deepens the golden hue and reinforces the flavor.
- Coat the chicken:
- Lift each marinated strip and press it into the breadcrumb mixture, turning to coat all sides and patting gently so the crumbs stick. Lay the coated pieces on a wire rack set over a baking sheet, leaving a little space between each one.
- Bake or fry:
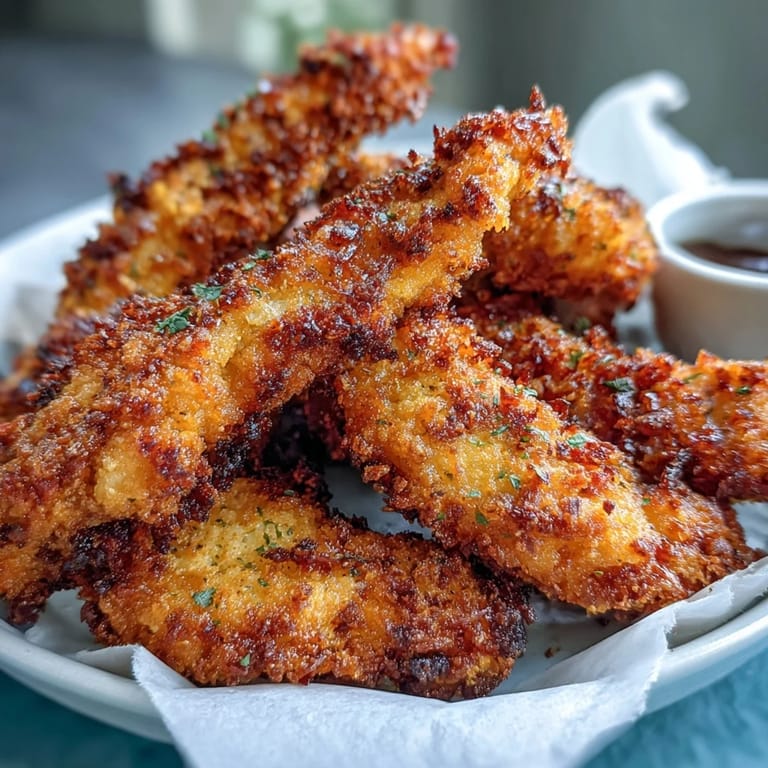
- For baking, spray the tops lightly with oil and bake for 18 to 20 minutes, flipping halfway, until golden and the internal temperature hits 75°C (165°F). For frying, cook in batches for 3 to 4 minutes per side, then drain on paper towels.
- Serve hot:
- These are best straight from the oven or pan, still crackling and warm. Pair them with yogurt-herb dip, sweet chili sauce, or even a squeeze of lemon.
 Save
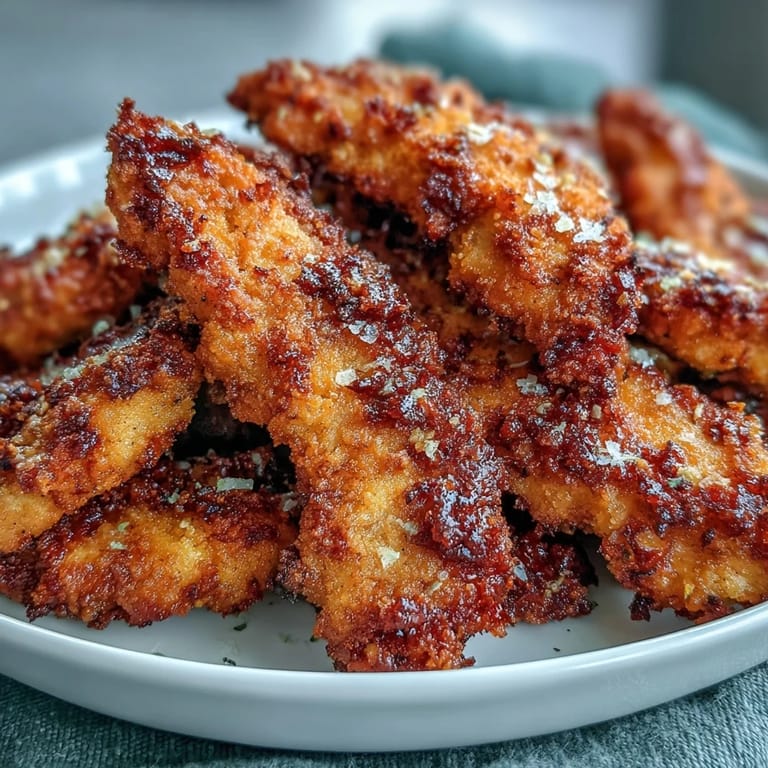
Save One night I served these with a simple cucumber salad and rice, and my husband looked up mid-bite to say it tasted like something we'd order out. That's when I realized this recipe had crossed over from weeknight experiment to something I'd actually be proud to serve guests. It's funny how a little color and the right spice mix can make chicken feel special again.
How to Store and Reheat
Leftovers keep in an airtight container in the fridge for up to three days, though they're never quite as crispy the next day unless you reheat them properly. I've found that a quick stint in the oven at 200°C or a few minutes in the air fryer brings back most of the crunch, while the microwave turns them soft and sad. Let them come to room temperature for about ten minutes before reheating so they warm evenly, and resist the urge to stack them or they'll steam each other.
Variations to Try
Sometimes I add a pinch of cayenne to the marinade when I want a little heat, or swap the panko for gluten-free breadcrumbs if we have guests with dietary restrictions. One time I ran out of yogurt and used a beaten egg mixed with a splash of milk, which worked surprisingly well and gave the coating an even richer color. You could also try swapping cumin for coriander, or adding a teaspoon of honey to the marinade for a hint of sweetness that caramelizes beautifully in the oven.
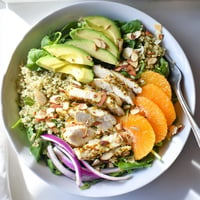
Serving Suggestions
These tenders play well with almost anything, but I especially love them alongside roasted vegetables, a tangy coleslaw, or tucked into warm pita with shredded lettuce and a drizzle of tahini. They also make a fantastic appetizer for parties when you cut them into smaller pieces and serve them with a variety of dipping sauces. My go-to is a quick yogurt dip with chopped mint, garlic, and a squeeze of lemon, but sweet chili sauce and even a spicy mayo have never disappointed.
- Serve with basmati rice and a simple tomato-cucumber salad for a balanced weeknight meal.
- Pack them in lunchboxes with carrot sticks and hummus for a protein-packed midday option.
- Arrange them on a platter with three or four dips and watch them vanish at your next gathering.
 Save
Save This recipe has become one of those reliable favorites that I return to when I need dinner to feel effortless but still impressive. I hope it brings the same easy joy to your table, and maybe even converts a picky eater or two along the way.
Recipe Questions & Answers
- → Can I make these chicken tenders ahead of time?
Yes, you can marinate the chicken up to 2 hours in advance for deeper flavor. Bread them just before cooking for best results. Cooked tenders can be refrigerated and reheated in the oven or air fryer to restore crispiness.
- → What can I use instead of yogurt for the marinade?
Use any dairy-free yogurt alternative such as coconut, almond, or soy yogurt. You can also substitute with buttermilk or simply use extra olive oil with a splash of lemon juice for tenderizing.
- → How do I know when the chicken tenders are fully cooked?
The internal temperature should reach 74°C (165°F) when measured with a meat thermometer. The coating should be golden brown and the juices should run clear when pierced.
- → Can I use an air fryer instead of baking or frying?
Absolutely. Preheat your air fryer to 200°C (400°F), spray the tenders lightly with oil, and cook for 12-15 minutes, flipping halfway through, until golden and crispy.
- → What dipping sauces pair best with these tenders?
These tenders complement yogurt-herb dips, sweet chili sauce, garlic aioli, or honey mustard beautifully. The turmeric and warming spices work especially well with cooling, creamy sauces.
- → Can I make these gluten-free?
Yes, substitute the all-purpose flour with rice flour or gluten-free flour blend, and use certified gluten-free breadcrumbs or crushed cornflakes instead of panko.